Fine Tuning 3D Printer Settings
Earlier this month I released a video showing the process of fine tuning 3D printer settings, in all fairness this topic really can't be captured in one video but what I tried to capture was the amount of time you can sink.
When working with 3D printers and the results of using them, careful attention should be paid to the quality you expect from these machines. While they are very affordable now, spending less money on a 3D printer usually results in a degradation of final quality.
The lower priced units can be made better, but at a cost of additional time - so you have to decide what your time is worth to you. Also, some 3D printers can't be brought to a higher quality level to match higher priced 3D printers without some support of the community and after market.
That being said, lets get on with the findings in tweaking the Robo3D R1+ 3D printer that can be purchased for a nominal fee (compared to other high performance 3D printers on the market).
As mentioned in the video, I wanted to maximize three things with the Robo3D R1+:
1) Speed
2) Quality
3) Material usage
Now, I feel I was able to push this machine to the limits and maximize the three areas mentioned above. Doing so required parts upgrades, better understanding of software and a lot of patience.

If at first you don't succeed, try and try again lol. (This is the patience part).
I printed loads of the exact same object and for each print I checked three things:
1) Dimensional accuracy
2) Quality of top and bottom layers
3) Speed to print
Dimensional accuracy is very easy to test for, especially on your top and bottom layers. Essentially what I've found from all of this testing is that if you're printing at a smaller layer height, say 0.100, then you'll need more top layers and more bottom layers as using infill and the voids of hot air will still tend to fight the extrusion process.
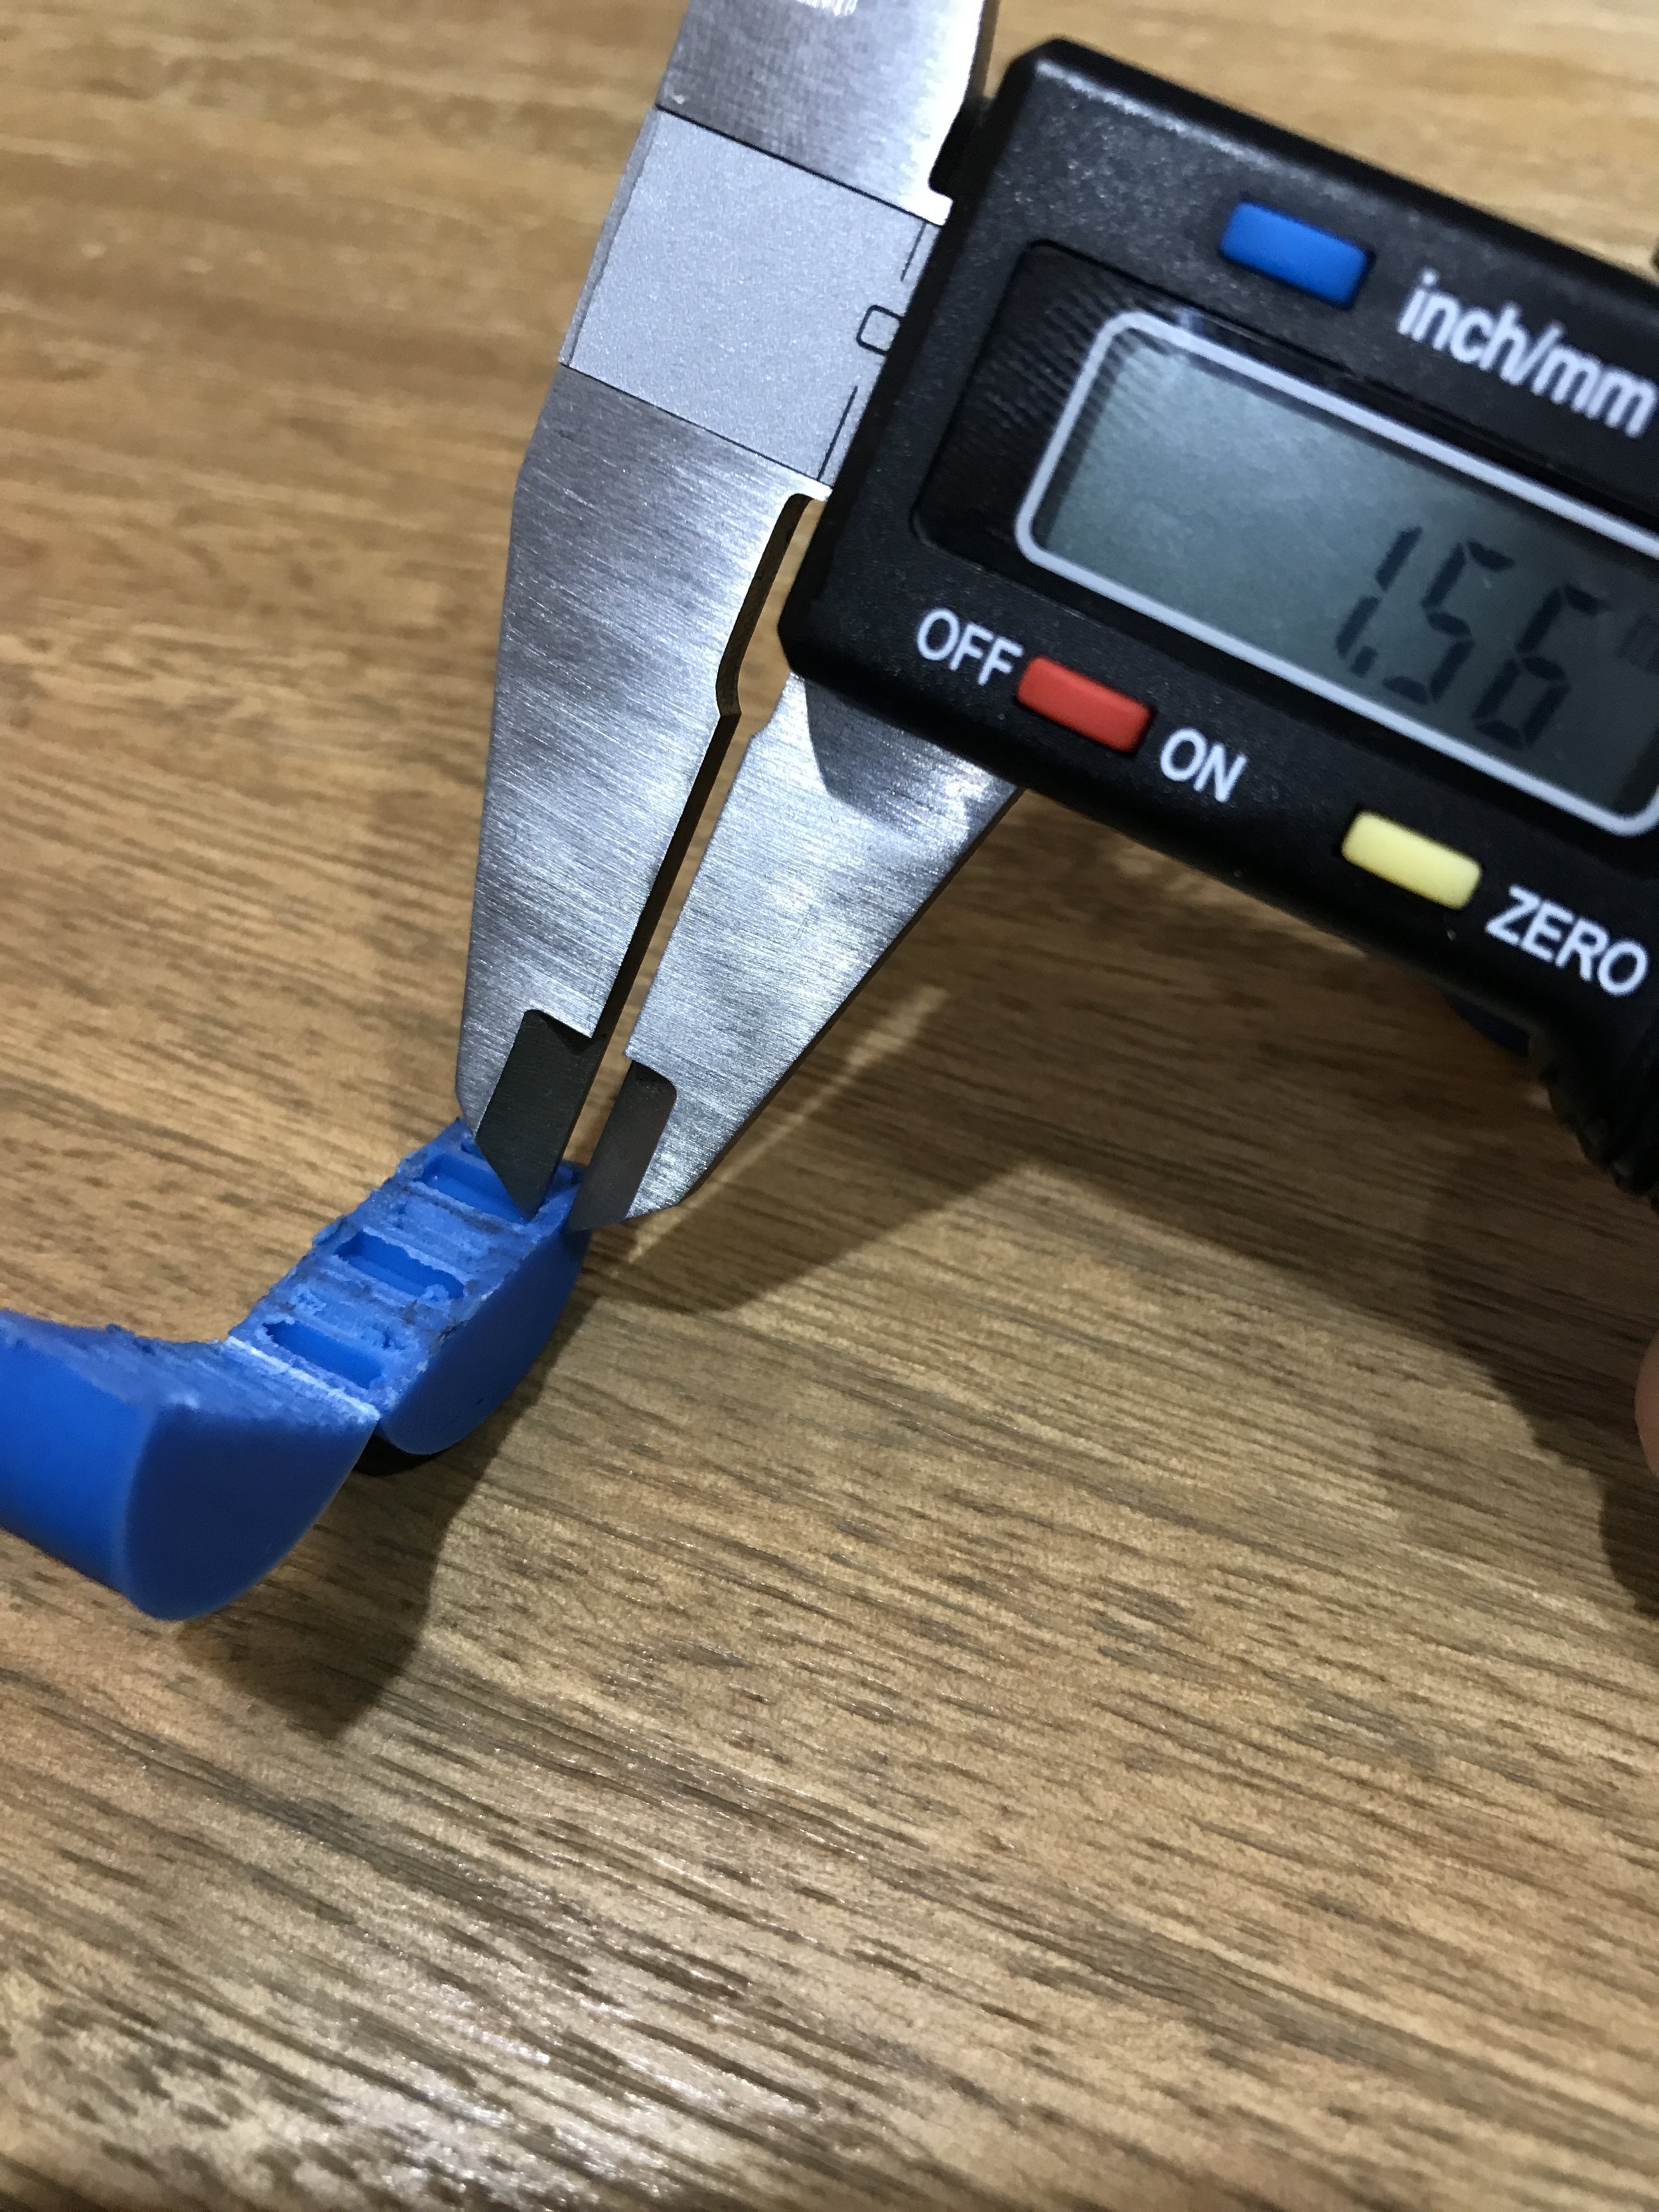
I ended up cutting my test pieces in half and using digital calipers to determine the thickness of the top and bottom layers, using very simple math you can tell if your extrusion multiplier is sufficient for your model, speed and desired quality.
What I began to notice while printing these was that infill percentage had very little impact on the top layers, and this was quite frustrating honestly because I had believed that infill would improve top layer quality given everything I had read and watched online.

Here I increase the infill and still, experienced the issues with pockets of hot air breaking the filament for the top layers as it was being extruded.
While infill does improve top layer quality in certain cases, (much bigger models/prints), but for small items like what was being tested with the voids created by using partial infill was create pockets of hot air that would escape during the final top layers being extruded.
After many failed attempts, and being tempted to just use 100% infill, I decided to go back and check MatterControl settings for this printer, (I had moved to Simplify3D for ease of support placement). What I found was that the Robo3D R1+ profile you get from Simplify3D is pretty much useless.
So I began the painful process of translating all the settings from MatterControl to Simplify3D and testing that out. The biggest difference was the speed settings and the bottom and top layers.
All in all, it was my fault for not checking the settings provided by Simplify3D and assuming the defaults would at least get me decent quality out of the printer.
After making adjustments to mirror settings, I started to focus on speeding up my prints and it really doesn't require much effort - I continued with the test model and eventually landed on 80mm/s.
80mm/s is extremely fast from what I've seen on YouTube and other various community forums and sites, not many are using that speed for their prints. I have found that 80mm/s is not ideal for prints requiring a lot of bridging or things that have high fidelity.

After cloning settings from MC to S3D and changing the hotend tip to a plated one, quality dramatically increased for small accurate prints.
Turning down the speed on high detail prints isn't a big problem for me because of Simplify3D allow different processes, which in turn allows me to adjust printer speed for certain parts of a print (this will be a future video and/or article).
Another very important piece of this adventure was discovering that the MatterHackers wood filament I had previously printed with using the Robo3D R1+ stock brass hotend tip had caused issues with degradation in quality. I ended up going with a plated tip that I purchased from Amazon that others have recommended in the community.
The last goal that I was trying to achieve was using less material, and this was very easy to accomplish after making aforementioned changes to software and hardware. I can print the shown test pieces with no infill should I choose, and this will go a long way on larger prints where I can tweak, with S3D, different parts of the model having less or more infill where absolutely needed.
All in all, and now that I'm typing this it's not a surprise, you need to realize that the quality of 3D prints depends greatly on a concerted effort of software, hardware and the materials used.